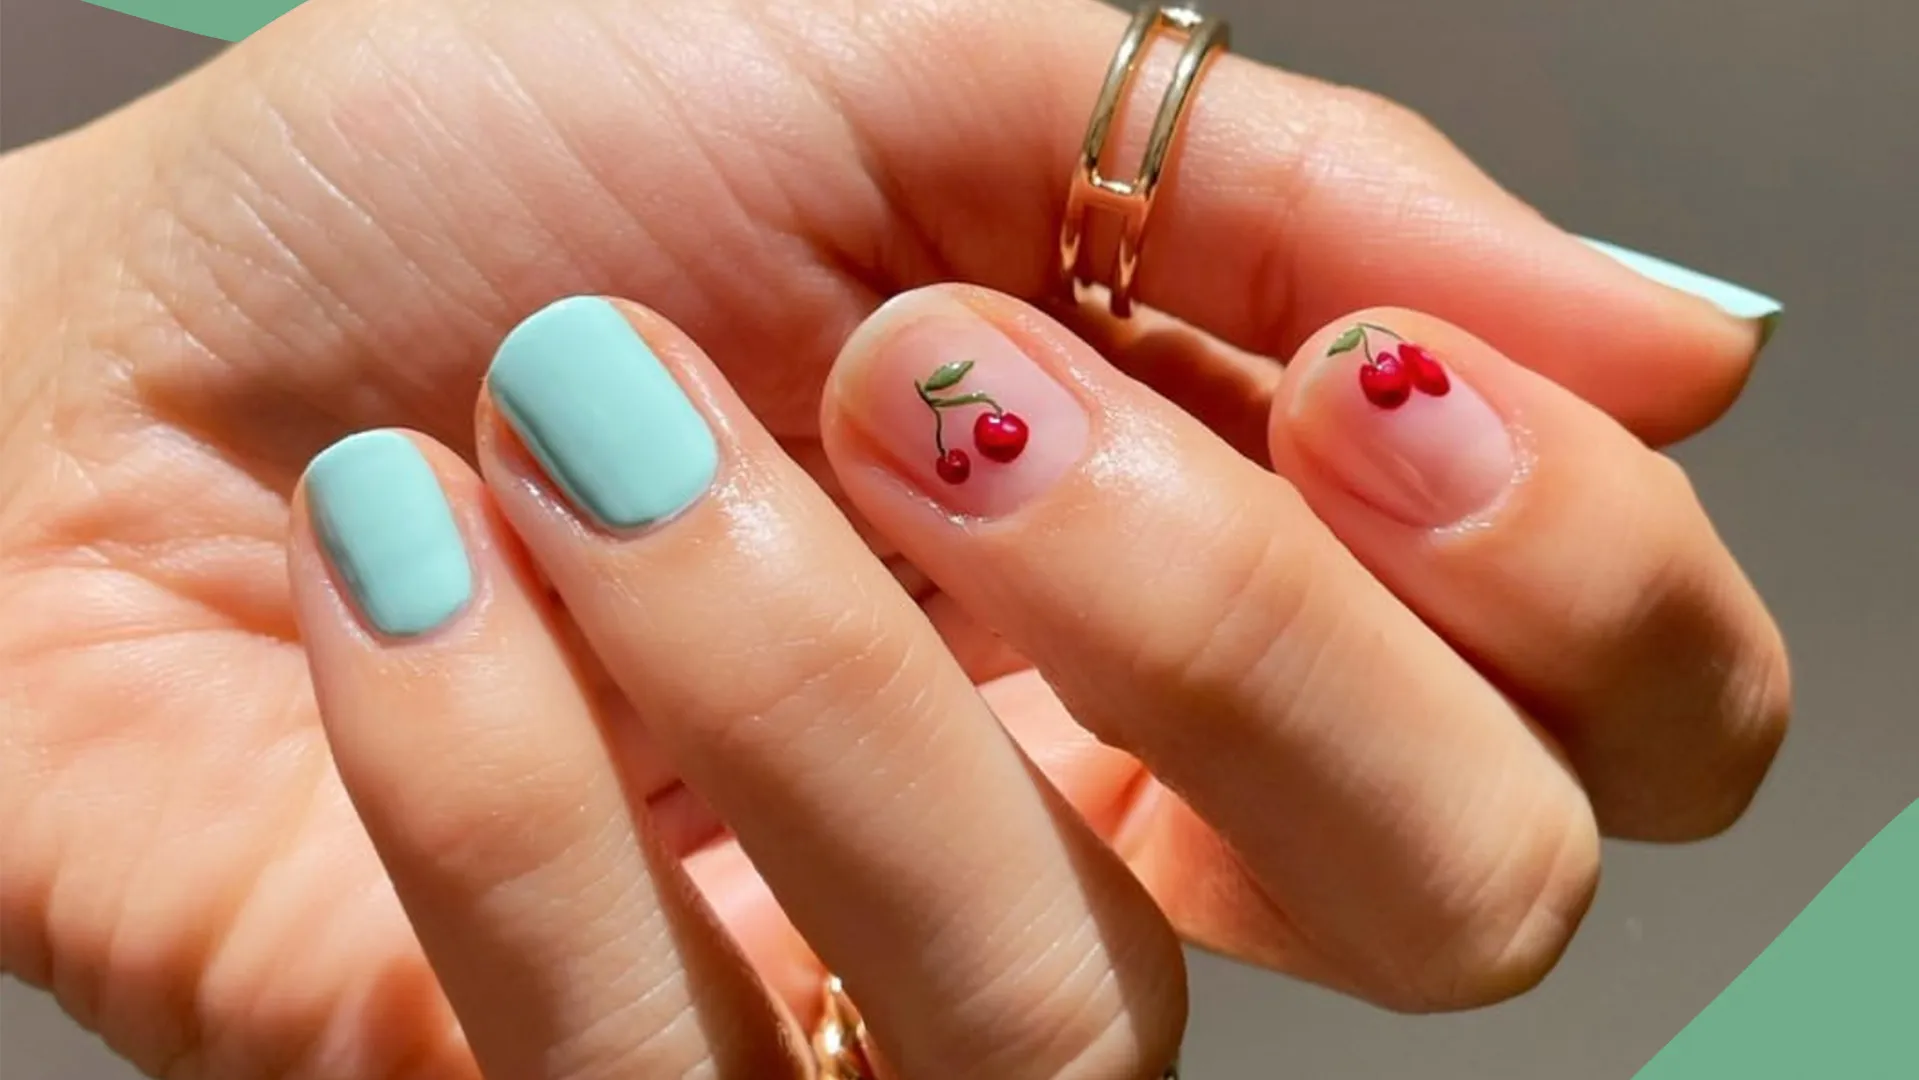
Welcome to a world of fun, flair and creativity with our Easy Cute Nail Designs! If you're someone who loves expressing their uniqueness through their nails, then you're in for a treat. With a myriad of adorable and trendy patterns, colors and styles to choose from, you'll have everything you need to let your creativity shine. Whether you're dressing up for a special event, or just looking for a way to show a little personality, our nail designs are just the ticket. Easy to use, DIY-friendly and most importantly, heaps of fun.
Get ready to transform your nails into tiny canvases of creativity with our Easy Cute Nail Designs collection! Our delightful range includes designs from minimalist chic to ultra glam, giving you endless options to experiment with. Whether you love pastels, bling, florals or quirky doodles, we've got it all! And the best part? You can easily apply these from the comfort of your own home. Unleash your inner artist and let your nails do the talking.
Tips and Tricks for Applying Nail Art Perfectly
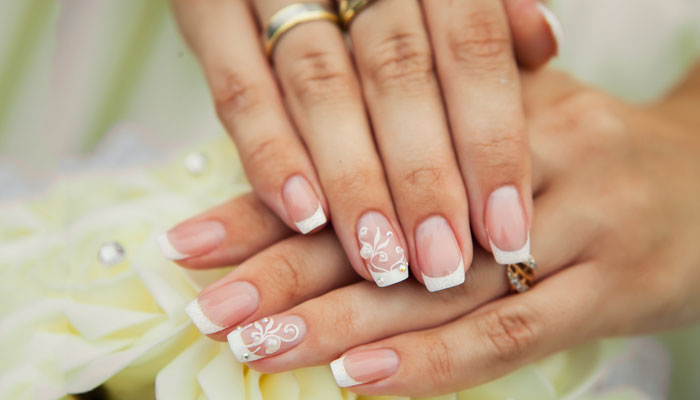
Image Source: google.com
Nail art can be intimidating, but it doesn't have to be! With some practice, you can create delightful and beautiful designs. Here are 10 simple and stunning nail art designs that beginners can easily recreate.
Design 1: Glitter Gradient: To get this look, start by applying a base coat. After the base coat has dried, begin by applying a thin layer of glitter polish in your desired color. Once dry, use a sponge to apply a second layer of glitter on the tips of your nails. Let dry then finish with a top coat.
Design 2: Ombre French Manicure: Create an ombre effect by starting with a light shade of polish for your base color. Then carefully apply three stripes in shades of increasing darkness near the tips of each nail - using two shades per stripe (if desired). Gently blend each stripe with a brush before sealing the design with a top coat.
Related Article: Nail Designs for Spring 2023: Get Ready to Look Fabulous
Design 3: Negative Space Geometric Pattern: Start by painting all nails with two layers of white polish. Then use tape or stickers to create geometric shapes on each nail - alternating colors while leaving negative space between them for added effect. Remove the tape and stickers and allow the design to dry completely before adding a topcoat for extra shine and protection.
Design 4: Matte Dotted Accent Nails: For this design, paint all nails black and let dry completely before applying a matte topcoat on one accent nail only! Once dry add white polka dots using a dotting tool or toothpick for extra dimension and texture. Finish off with another layer of matte topcoat over all nails for long-lasting wearability.
Design 5: Glitter Stripes: This design is perfect for those looking to add sparkle without going too overboard! Start by painting all nails white as your base color then use striping tape to create diagonal glitter lines across the nail surface - alternating colors if desired. Carefully peel off the tape once finished and seal it in place using a topcoat.
Design 6: Tribal-Inspired Nail Art: For this look, start by painting your nails black as your base color then use striping tape to make curved lines across each nail surface starting from both sides towards the center creating a zigzag pattern along the way. You can also alternate colors if desired! Peel off the tape and seal it in place using a topcoat!
Design 7: Color Blocking: Begin by selecting two contrasting colors - like pink & black – as your base shades then use striping tape or stickers to create blocks on each nail – alternating colors as you go along for extra visual appeal! Peel off the tape/stickers carefully once finished applying each block & seal it in place using a topcoat for long-lasting wearability & shine.
Easy Nail Designs: A Step-by-Step Guide
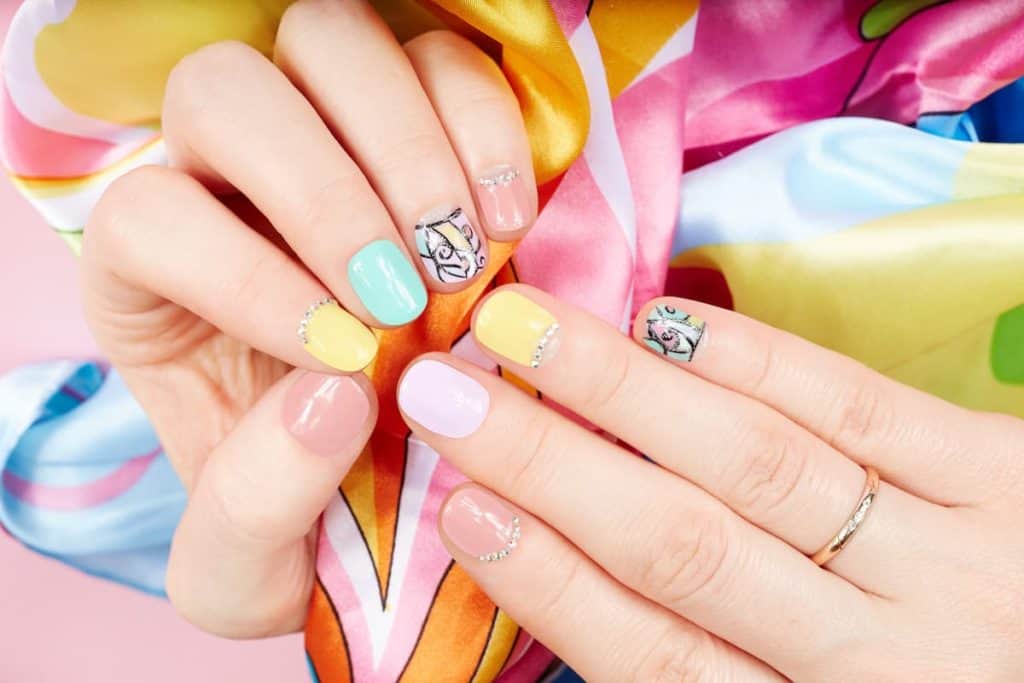
Image Source: google.com
If you’re just getting started with nail art, it can seem intimidating. However, there are plenty of easy nail designs that even a beginner can recreate. With the right tools and some practice, you can create stunning designs in no time.
To get you started, here are 10 simple yet beautiful nail designs that are perfect for beginners:
- French Manicure: This classic design is timeless and easy to do. Simply paint your nails white or beige and draw a thin line along the tip using black or clear polish.
- Polka Dots: For this design, all you need is two colors of polish and a dotting tool. You simply place small dots of one color on a nail painted with the other color.
- Stripes: Create parallel lines on your nails with contrasting colors for an eye-catching look. Use a steady hand or tape over your nails to create clean lines.
- Marble Effect: This trendy design looks complicated but is quite simple to do. Swirl together two colors of polish on a piece of foil then dip your nails in the mixture.
- Chevron: Make sharp angles on each nail with different colored polishes to create this zigzag pattern.
- Ombre: Gradient ombre nails are easy to achieve by sponging colors onto your nails or simply blending them with a brush.
- Glitter French Manicure: Add an extra sparkle to your French manicure by adding glitter polish over the tip.
- Half-Moon Manicure: Cut half-moons at the base of each nail then fill them in with bright or pastel colors for an interesting look.
- Animal Prints: Get creative by painting leopard spots or tiger stripes onto your nails! For an easier option, use stickers instead of painting them yourself.
- Floral Patterns: Create delicate floral patterns on each nail using different colored polishes. You can also use stencils if you want perfectly symmetrical designs.
Supplies Needed and Where to Buy Them
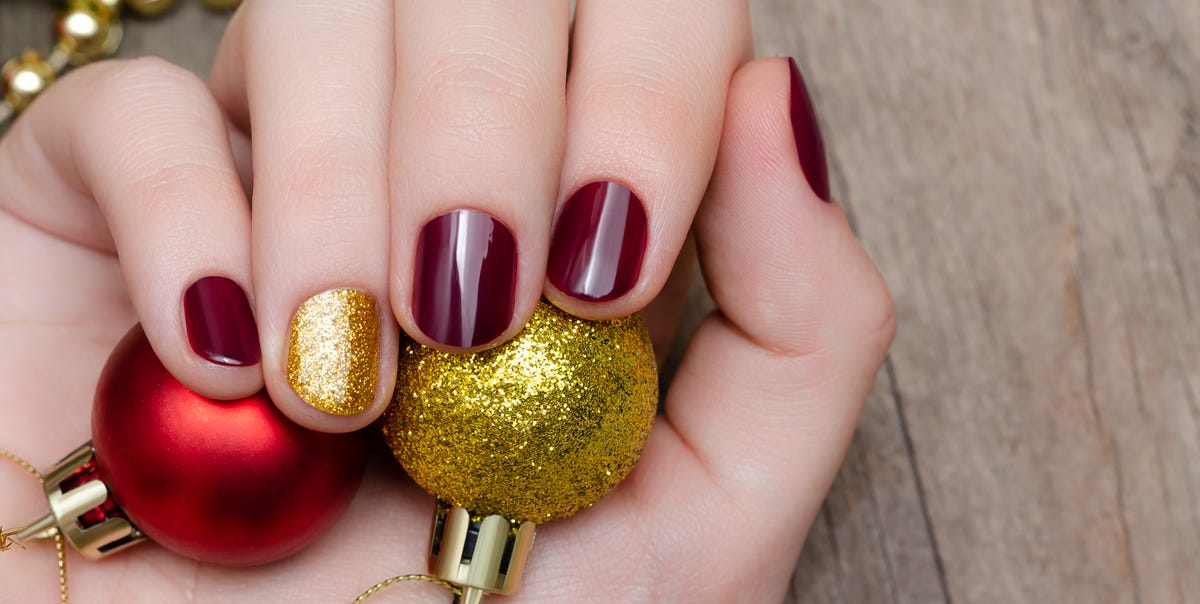
Image Source: google.com
If you're just starting in the world of nail art, you'll need to gather some supplies before getting started. Even if you have basic items, such as a nail file, clippers, and cuticle pusher, having some specialist tools on hand can make your life much easier when creating beautiful nail designs. Here is a list of the most essential supplies that you'll need for creating timeless nail art:
- Base coat: Used to protect your nails underneath the polish. You can find a good base coat at most beauty supply stores.
- Nail polishes: A variety of colors is necessary for any look. Bright and glittery hues are great for adding some fun to your design. Your local drugstore should have a decent selection of polishes at affordable prices.
- Nail art brushes/dotting tools: These tools are perfect for intricate details like stripes or flowers. Many beauty supply stores sell them or you can purchase them online.
- Top coat: This seals your design so it lasts longer without chipping away too much. You can buy top coats from beauty supply stores.
You may also want to invest in some extras such as rhinestones, stickers, decals, and sequins to add an extra bit of sparkle to your nail look. Many online retailers sell these items in bulk at discounted rates - perfect if you plan on doing lots of designs! Don't forget that most salons will have many items available for sale as well - so don't be afraid to ask your nail technician about buying some items from them too.
Written by - Kuldeep