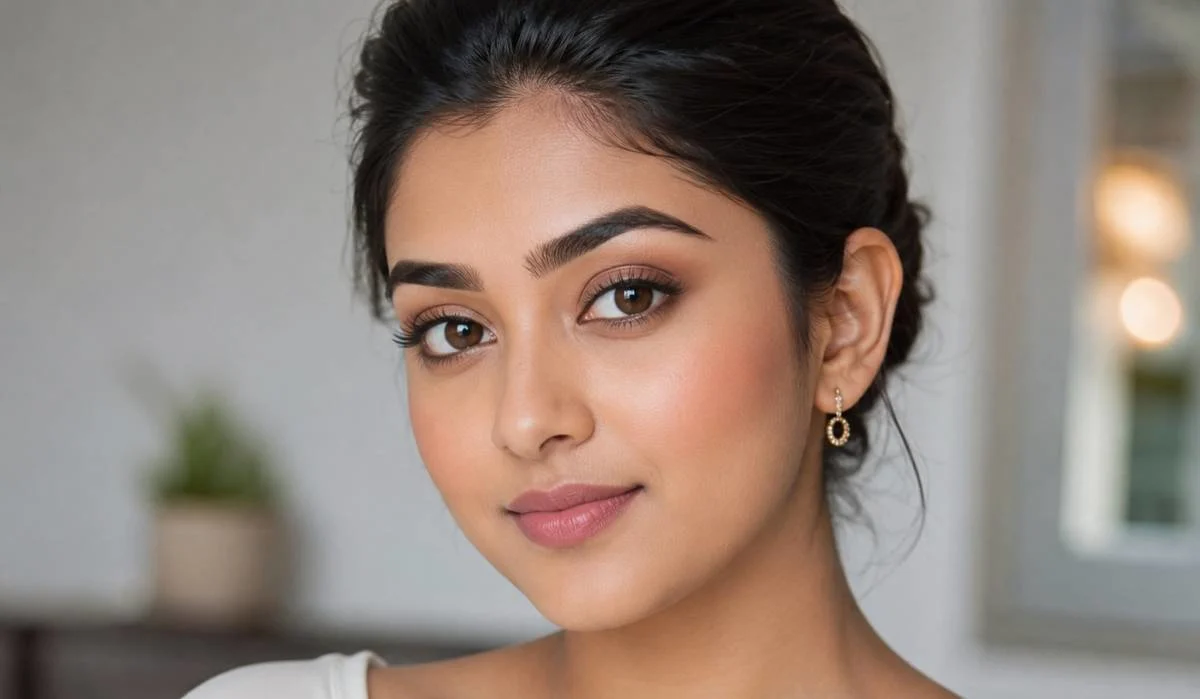
I used to ignore my eyebrows completely. Just let them grow however they wanted. I did not think they mattered that much. Then I saw a photo of myself and wondered why my face looked so plain. It took me years to realize eyebrows change everything.
They frame your face. Make your eyes pop. Even make you look younger. But eyebrow makeup is tricky. Too dark and you look angry. Too light and nothing changes. Wrong shape and your whole face looks off. I made all these mistakes. So I learned the right way. Let me tell you what actually works. Simple steps. No complicated stuff. Just real eyebrow makeup that makes a difference.
Why Eyebrows Matter?
Your eyebrows are the frame of your face. They balance your features and give structure to your eyes. Good eyebrows can lift your whole face. Bad ones can make you look tired or even older.
Most women do not know how to do their brows properly. They overpluck. Or draw them too dark. Or use the wrong products. But once you learn the basics, it becomes so easy.
Read More: How to Make Eyelashes Look Longer Without Extensions Naturally
Eyebrow Makeup Step by Step
This is the method I use every day. Simple and quick.
Step 1: Brush Your Brows
Take a spoolie brush and brush your eyebrow hairs upward. This shows you their natural shape. It also removes any powder or foundation stuck in them.
Step 2: Find Your Shape
- Here is a simple trick. Hold a brush or pencil vertically against your nose. Where it meets your brow is where your brow should start. Now angle it from your nose to the outer corner of your eye. That is where your brow should end.
- Mark these points lightly with a pencil. This gives you a guide to follow.
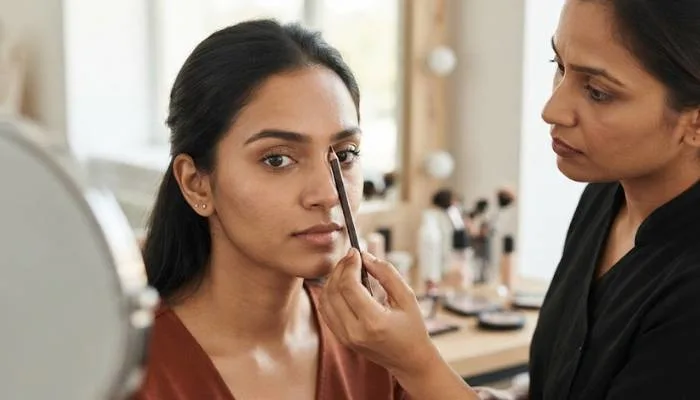
Step 3: Fill in Sparse Areas
- Use a brow pencil or powder. Start at the inner corner and use small hair-like strokes. Do not draw one solid line. That looks fake. Follow the direction your natural hairs grow.
- Focus on areas that look thin or patchy. Fill those first. Do not overdo the inner part. That area should look softer.
Step 4: Define the Tail
The outer part of your brow should be slightly darker and more defined. This gives structure to your face. Use a slightly heavier hand here.
Step 5: Blend with a Spoolie
Brush through your brows with the spoolie again. This blends the product and softens any harsh lines. It also removes excess product.
Step 6: Set with Brow Gel
A clear or tinted brow gel keeps everything in place. Brush it through in an upward motion. This makes your brows look naturally full and lifted.
Eyebrow Makeup Styles
Different shapes work for different face shapes and personal styles.
Natural Brows
This is the most popular style. Just fill in sparse areas and keep the shape close to your natural brows. Soft and effortless. Works for everyone.
Feathered Brows
Brush the hairs upward and outward with gel. This gives a fluffy, full look. Very trendy right now.
Arched Brows
Higher arch gives a more lifted look. Good for round faces. Makes your eyes look more open.
Straight Brows
Minimal arch. More horizontal shape. Gives a youthful, softer look. Popular in Asian beauty trends.
Defined Brows
Sharp, clean edges with concealer underneath. Very polished and structured. Good for glam looks.
What is Eyebrow Makeup Called?
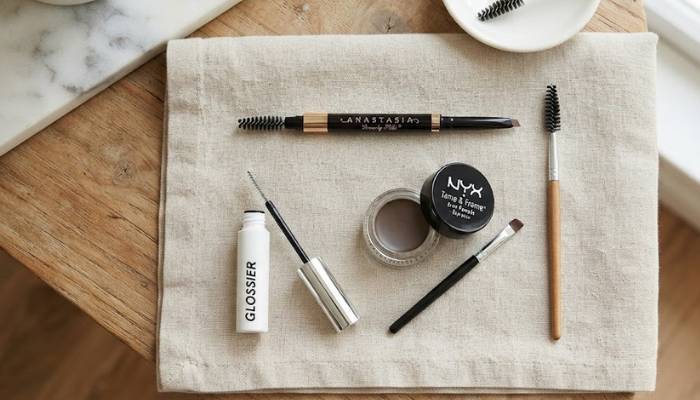
Eyebrow makeup has many names. Brow pencils. Brow powders. Brow gels. Pomades. Tints. Spoolies. All of these are used for different brow products.
- Brow pencil - Pencil that fills in gaps. Good for beginners. Easy to control.
- Brow powder - Powder that shades brows. Natural finish.
- Brow pomade - Creamy product applied with brush. Gives bold, defined look.
- Brow gel - Clear or tinted gel that sets hairs in place.
- Tinted brow gel - Adds colour while setting. Great for quick looks.
- Brow pen - Liquid pen that creates hair-like strokes. Very natural finish.
Eyebrow Makeup Kit: What You Actually Need
You do not need every product out there. Here is what is actually useful.
- Spoolie brush - For brushing and blending.
- Angled brush - For applying powder or pomade.
- Brow pencil or powder - Main product for filling.
- Brow gel - To set everything in place.
- Concealer - To clean up edges and define shape.
- Good mirror - A magnifying mirror helps a lot.
Start with just a pencil and spoolie. Add more products as you get comfortable.
You May Also Read: Makeup for Hooded Eyes Over 50: Easy and Simple Tips
Eyebrow Makeup Crossword Clue
If you have ever done a crossword puzzle, you might have seen "eyebrow makeup" as a clue. The answer is usually BROW or BROW PENCIL. Sometimes POMADE or GEL. Now you know for next time.
Common Mistakes to Avoid
- Too dark - Use a shade lighter than your natural brow colour. If in doubt, go lighter. Dark brows look harsh.
- Wrong shape - Follow your natural arch. Do not try to force a shape that does not suit your face.
- Overplucking - Let your brows grow. Only remove stray hairs. Overplucked brows never look good.
- Filling too much - You just need to fill sparse areas. Not your whole brow. That looks painted.
- Harsh lines - Always blend with a spoolie. No sharp edges unless you are going for a defined look.
- Wrong placement - Brows that start too close together or too far apart throw off your face balance.
Natural vs Bold Brows
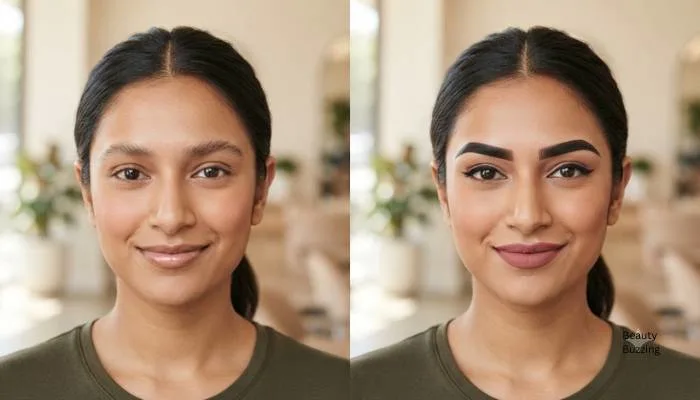
- Natural brows are softer. They match your natural brow colour. They just fill gaps and blend well. Good for everyday.
- Bold brows are darker and more defined. They are shaped with concealer. Good for nights out or photos.
- Pick what suits your face and your style. You can switch between both.
Products I Actually Use
Here is what works for me.
- For everyday - A soft brown pencil and clear gel. Takes two minutes.
- For glam - Pomade and concealer. More defined and polished.
- For quick looks - Tinted brow gel. Just brush and go.
- For natural finish - Brow powder with an angled brush. Soft and blendable.
Final Words
Eyebrows change your whole face. I learned this the hard way. Once I started doing them properly, people noticed. They said I looked fresher. More put together.
The trick is keeping it simple. Brush. Fill. Blend. Set. That is it. No complicated steps. No expensive products needed.
And remember, eyebrows are sisters, not twins. They will never look exactly the same. That is normal. Just keep them neat and defined. That is all you need.
FAQs
1. How do I do my eyebrows step by step?
Brush them up first with that spoolie thing. See where they are thin. Then take your pencil and make tiny hair-like strokes in those empty spots. Do not draw one solid line. That looks fake. Make the outer part a bit darker. Brush through again to blend. Put some gel to hold everything. Done.
2. What brow shape works for my face?
Natural shape works for everyone honestly. If your face is round, make the arch a little higher. It lifts your face. If your face is long, keep them straighter. That makes your face look softer. Square face? Go for a soft arch. Balances your jawline.
3. What are all these brow products called?
Pencil is the basic one. Powder gives a softer look. Pomade is creamy and gives you those bold defined brows. Gel holds everything in place. Tinted gel adds colour while holding. They are all just brow products. Different names for different textures.
4. What do I actually need to buy?
Just a pencil and a spoolie to start. That is enough. Later you can add gel and concealer if you want. But do not waste money on everything at once. Most days I just use a pencil and brush through. Takes two minutes.
5. How do I pick the right colour?
Go one shade lighter than your brow colour. If your brows are dark brown, use medium brown. Never use black. It looks so harsh. If your brows are light, go one shade darker. When you are not sure, pick the lighter one. You can always go darker but you cannot go lighter once it is on.