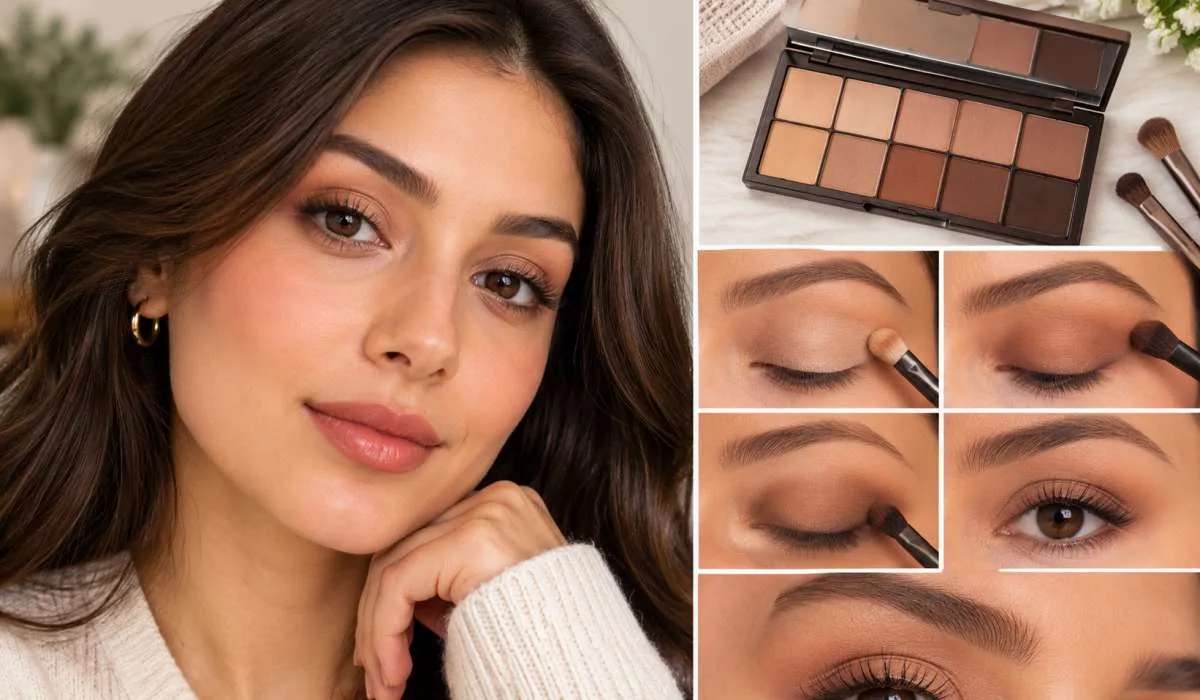
Most eyeshadow tutorials make it look easy and then you try it and it looks like a bruise. I know. My first attempt was purple up to the eyebrow. Ten years later I can do a full look in four minutes.
This eyeshadow tutorial is for people who have failed before. No ten shade palettes, no fancy brushes. Three colours, one brush, five minutes. You will learn the natural look first, then the smokey eye, and what changes after 40. Real steps real talk no fluff.
What You Need Before You Start?
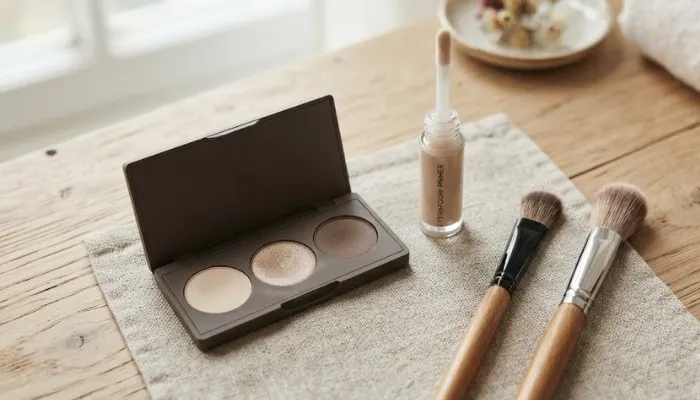
You do not need a 40 shade palette. You need four things.
- An eyeshadow brush. A flat one for putting colour on the lid. That is the main one. Fingers work too but a brush is cleaner.
- A blending brush. Fluffy, soft. This one moves colour around so there are no hard lines. Without this, everything looks patchy.
- A primer or concealer. This stops the shadow from creasing. Oily lids need it more.
- Two or three shadows. A light one. A medium one. A dark one. That is a full look.
- Skip the glitter for now. Glitter is the last step, not the first.
Read More: 10 Minute Makeup Tutorial for Beginners: Easy Steps
Eyeshadow Tutorial for Beginners
Start here. Do this look five times before trying anything else.
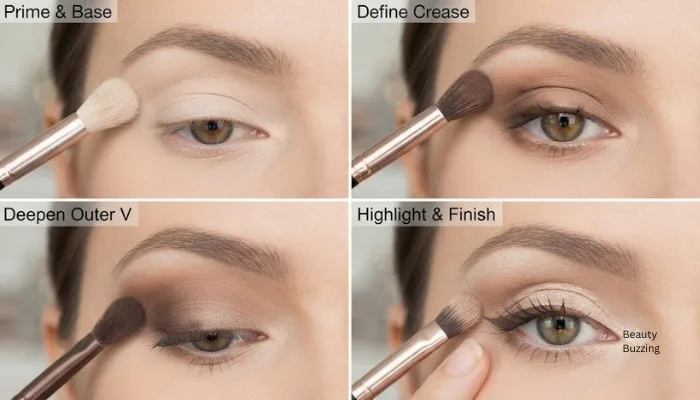
- Step 1. Put primer on the lid. Thin layer. Wait ten seconds.
- Step 2. Take the light shade. Any cream or beige. Put it all over the lid, up to the crease. This is your base.
- Step 3. Take the medium shade. Brown or tan. Put it in the crease only. The crease is the fold above your eye. Use small circles. Not big sweeps.
- Step 4. Take the dark shade. Put a little on the outer corner. Where your eyelid meets the edge. Blend it inward with the fluffy brush.
- Step 5. Blend the edges. This is the step beginners skip. Move the fluffy brush in small circles along the top edge until there is no hard line. Two minutes here changes everything.
- Step 6. Mascara. Done.
That is it. One look, six steps.
Eyeshadow Tutorial Step by Step
Written out so you can follow while standing at the mirror.
- Prime the lid.
- Light shade on the whole lid.
- Medium shade in the crease, small circles.
- Dark shade on the outer corner only.
- Blend the top edge until soft.
- Add a small amount of light shade under the brow bone.
- Mascara on top lashes first, then bottom.
- Clean up any fall out with a wet wipe.
Notice step 8. Eyeshadow drops onto your cheeks while you work. Clean it at the end, not the start. Wet wipe, one swipe.
Eyeshadow Tutorial Natural Look
- This is the one most women actually want. For office, college & daily.
- Natural does not mean no makeup. It means it does not look like you tried.
- Use one shade. A brown that is close to your skin but a bit darker. Nothing shimmery. Matte.
- Put it in the crease only. Light circles. Then take whatever is left on the brush and run it along the lower lash line. That is it.
- Add mascara. Add a nude lip. Done.
- Two minutes. And nobody can tell you are wearing eyeshadow. That is the goal.
- The mistake people make here is adding too much. One extra dip in the pan and it turns heavy. Tap the brush before you apply. Tap it twice.
How to Apply Eye Makeup Step by Step with Pictures?
You asked for pictures. I cannot put images here, but I can tell you exactly what to look for when you search.
Search these terms on Google Images or YouTube:
- "crease placement eyeshadow" – shows where the fold is
- "outer corner V eyeshadow" – shows the exact spot for the dark shade
- "blending before and after" – shows the difference blending makes
- "hooded eye placement" – if your lid is hidden, this changes everything
Watch one video. Not ten. Ten videos confuse you. Pick one creator. Copy their hand movement. Pause. Replay. Do it on your own face. Then again tomorrow.
Photos and videos help. But your own mirror teaches faster. Because your eye shape is not the same as the model's.
Eyeshadow Tutorial Smokey Eye
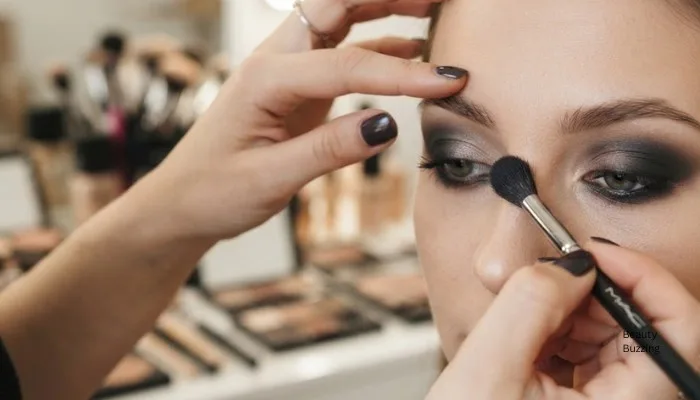
The smokey eye is not black. That is the first thing to unlearn. Real smokey eye uses three to four shades, all blended into each other. No hard edges anywhere.
How to do it:
- Start with a dark grey or brown at the lash line. Pack it on with the flat brush. Do not blend yet.
- Then take a medium grey. Put it just above the dark. Blend upward.
- Then black. Only in the outer corner. Tiny amount.
- Now blend everything. Fluffy brush. Small circles. Keep going until the edges disappear.
- Line the lower lash line with the same dark shade. Smudge it. Do not leave it sharp.
- Mascara. Lots of it.
- Two things that ruin a smokey eye. One, hard edges. Two, going too high. The colour should stop at the crease. Not the eyebrow.
If you have small eyes, skip the black. Use brown and grey only. Black makes small eyes look smaller.
You May Also Read: Glitter Eye Makeup Tutorial: Easy Guide for Beginners
Eyeshadow Tutorial for Older Women
This one matters. Most tutorials ignore it.
After 40, the eyelid changes. The skin gets thinner. The lid may droop or become hooded. Shimmer settles into fine lines and makes them look worse. So the rules change.
What to do differently:
- Use matte shades. No shimmer on the lid. Shimmer only on the brow bone, if at all.
- Skip the dark outer corner. It drags the eye down. Use a medium shade instead.
- Place your colour slightly higher than the crease. When you open your eye, the colour disappears into the fold. So go higher than feels right.
- Use cream shadow instead of powder. It does not settle into lines the way powder does. And it is easier to blend with a finger.
- Skip the lower lash line. Or keep it very light. Dark lower liner makes tired eyes look more tired.
- Curl your lashes. This lifts the whole eye. More than any shadow and use a light shade in the inner corner. It opens the eye. Works at any age.
Common Mistakes
- No blending. This is the big one. Hard lines look wrong. Always.
- Too much product. Tap the brush. Every time.
- Wrong brush. Using one brush for everything. Get two at least. Flat and fluffy.
- Skipping primer. Then wondering why it creases by noon.
- Going too dark too fast. Build slowly. You can add. You cannot remove easily.
- Ignoring your eye shape. A look that works on almond eyes may not work on hooded eyes. Find your shape first.
FAQs
1. How do I start eyeshadow as a beginner?
One light shade, one brown, one dark. That's it. Put the light on the whole lid. Brown in the crease with small circles. Dark only on the outer corner. Then blend the top edge until it's soft. Add mascara. Done. Do this same look ten times before you try anything new. Ten times. That's how the hand learns.
2. Which eyeshadow is best for a natural look?
A matte brown that's one or two shades darker than your skin. Nothing shimmery. Put it in the crease only. Then take whatever is left on the brush and run it along the lower lash line. Mascara. Nude lip. Done in two minutes. The trick is tapping the brush before you apply. Tap twice. One extra dip and it turns heavy.
3. Can I do a smokey eye without black?
Yes. And you should, if you have small eyes. Black makes small eyes look smaller. Use brown and grey instead. Dark grey at the lash line. Medium grey above it. Blend upward. No hard edges anywhere. That's a real smokey eye. Black is optional.
4. Is eyeshadow good for older women?
Yes, if you change the rules. After 40, use matte shades. No shimmer on the lid. It settles into fine lines and makes them look worse. Skip the dark outer corner. It drags the eye down. Place colour slightly higher than the crease. And use cream shadow instead of powder. It doesn't crease the same way.
5. How long does eyeshadow take?
Natural look, two minutes. Full smokey eye, eight to ten when learning. Four when you know it. If it's taking twenty minutes, you're using too many shades.
6. Can I use eyeshadow without primer?
Yes. But if your lids are oily, it will crease by afternoon. Concealer works as a backup. Thin layer. Wait ten seconds. Then start. That's enough for most people.
7. How do I clean up eyeshadow fall out?
Do your eye makeup first, then your face. That way the fall out wipes away with your foundation. Or use a wet wipe after. One swipe. Don't rub. And tap your brush before applying. Less fall out to begin with.